
PiKVM with Cloudflare Tunnel and Access
Have multiple PiKVM in your environment? What about if your network is behind a carrier grade NAT? Don’t want to open a port on your firewall? You can use Cloudflare’s Tunnel to access your PiKVM from anywhere and get around any limitiations that your network may have.
Setup
- Log into PiKvm shell
- Switch to root
su - - Enable read-write
rw - Update pacman
pacman -Syy -
Install Go
pacman -S go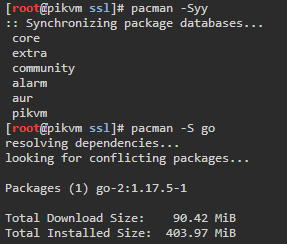
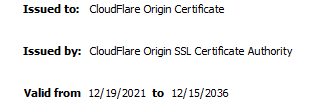
- Create a new certificate signed by Cloudflare OpenSSL#Generate_an_RSA_private_key
 openssl genpkey -algorithm RSA -pkeyopt rsa_keygen_bits:2048 -out private.key
 openssl req -new -sha256 -key private.key -out crt.req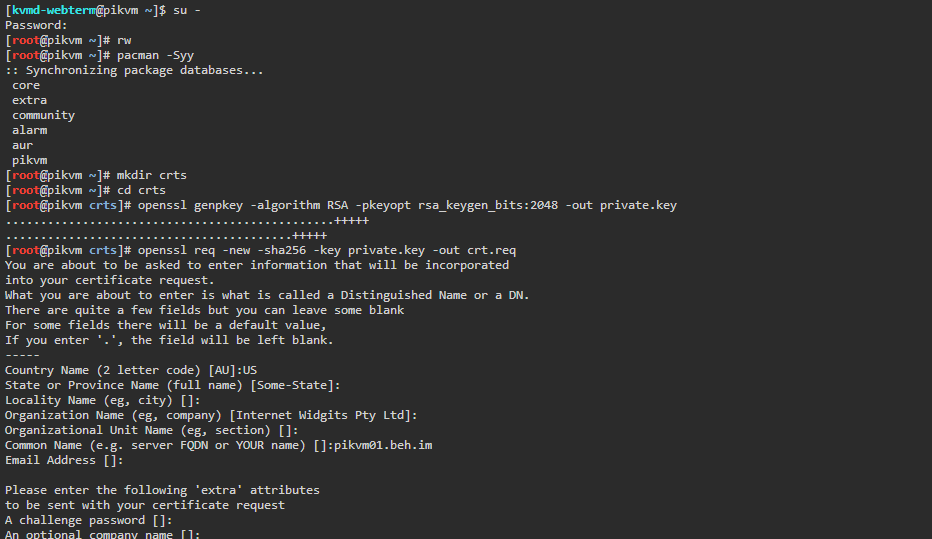
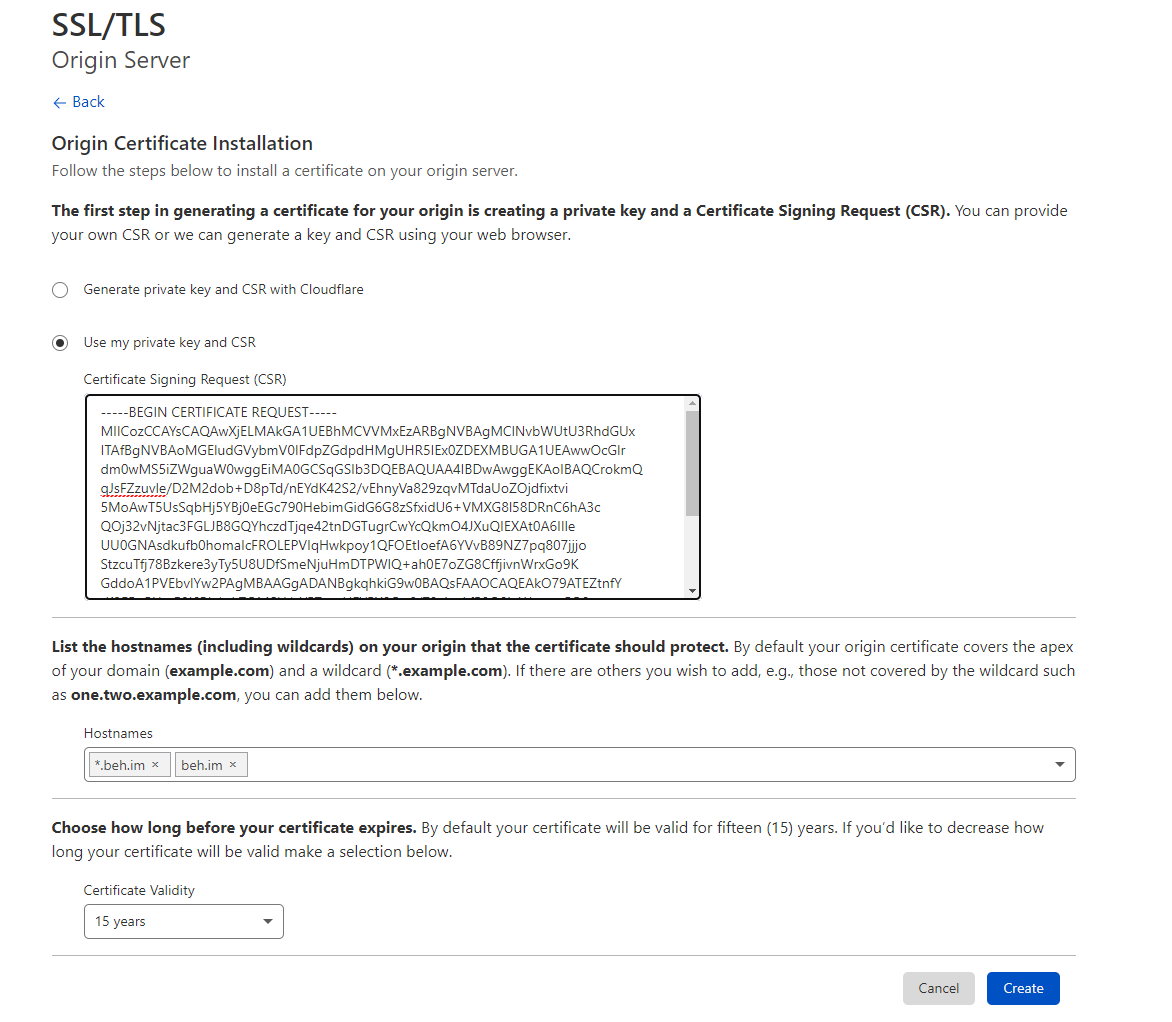
- In SSL/TLS go to Origin server and click create certificate

- Choose Use my private key and csr and paste everything in crt.req
-
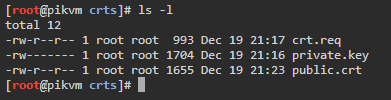
Click create and save the certificate on the server as public.crt
- Update the PiKVM certificates (Lets Encrypt and PiKVM)
- Copy certs created to
/etc/kvmd/nginx/ssl/(either rename old certs or use new names)
- Update file permissions
  cd /etc/kvmd/nginx/ssl/
  chown root:kvmd-nginx *
  chmod 440 private.key
  chmod 444 public.crt
- If you are using a custom certficate, update the
/etc/kvmd/nginx/ssl.conffilesed -i 's/server.crt/public.crt/' /etc/kvmd/nginx/ssl.conf sed -i 's/server.key/private.key/' /etc/kvmd/nginx/ssl.conf sed -i 's/TLSv1.1 TLSv1//' /etc/kvmd/nginx/ssl.conf
- restart kvmd-nginx
systemctl restart kvmd-nginx -
Reload the PiKVM web page, certificate should now be signed by Cloudflare
- Copy certs created to
- Switch back to standard user
exit - Build cloudflared, it’s going to take a few minutes
git clone https://aur.archlinux.org/cloudflared.git
cd cloudflared/
makepkg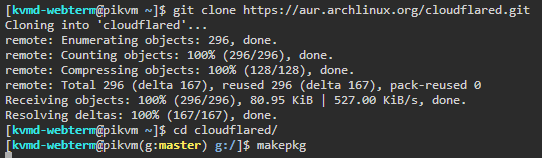
- Switch to root and install cloudflared
pacman -U <date>-armv7h.pkg.tar.xz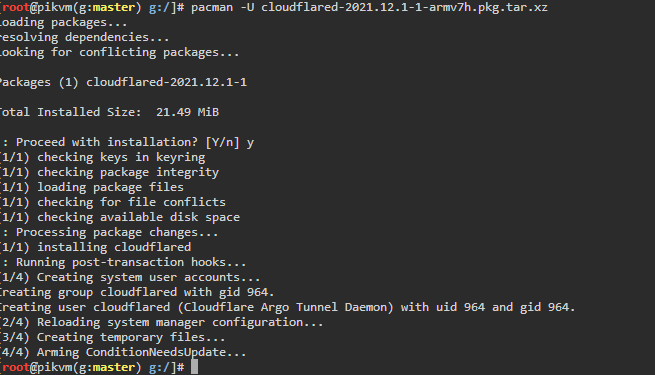
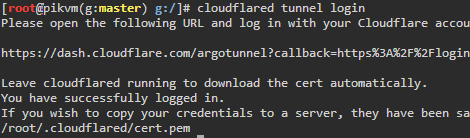
- Setup tunnel Cloudflare Tunnel Guide
cloudflared tunnel login cloudflared tunnel create <name of tunnel to create> cloudflared tunnel route dns <tunnel id> <hostname>- You can see that the record is updated in the DNS settings


- Create config file at
/root/.cloudflared/config.ymlurl: https://localhost:443 tunnel: <tunnel id> credentials-file: /root/.cloudflared/<tunnel id>.json origin-server-name: <hostname>
- Test tunnel
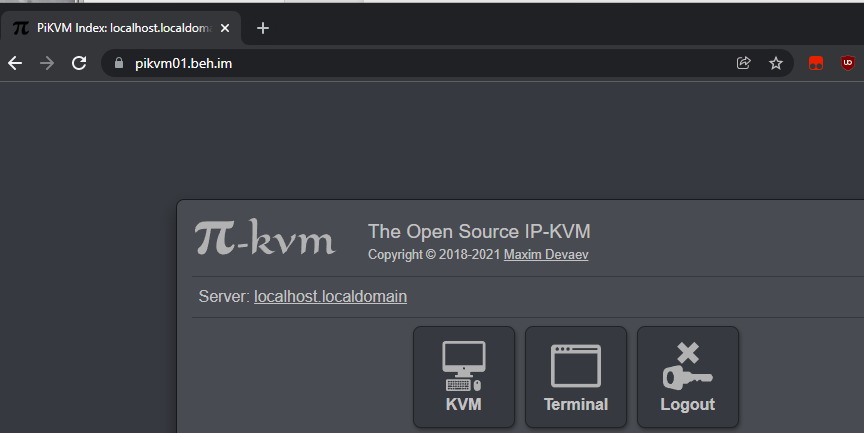
cloudflared tunnel run <tunnel id>- In any browser, go to hostname that was setup, PiKVM login page should now be accessible
-
ctrl - cto stop test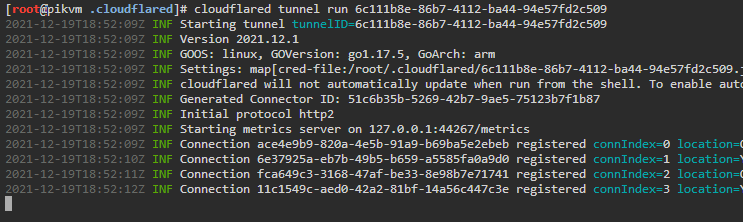
- Once test is successful, update the service config file
mv /etc/cloudflared/config.yml /etc/cloudflared/config.yml.original
mv /root/.cloudflared/config.yml /etc/cloudflared/config.yml

- Enable tunnel auto start
cloudflared service install systemctl enable cloudflared - Set PiKvm back to readonly
ro
To secure the setup even further, setup Cloudflare Access
- Sign in or create an account for Cloudflare for Teams and create a new team. Cloudflare provides 50 users free per team.
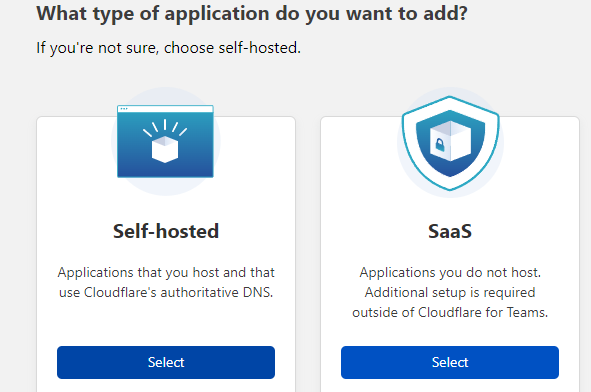
- Select Access -> Application and click
Add an application- Select Self-hosted
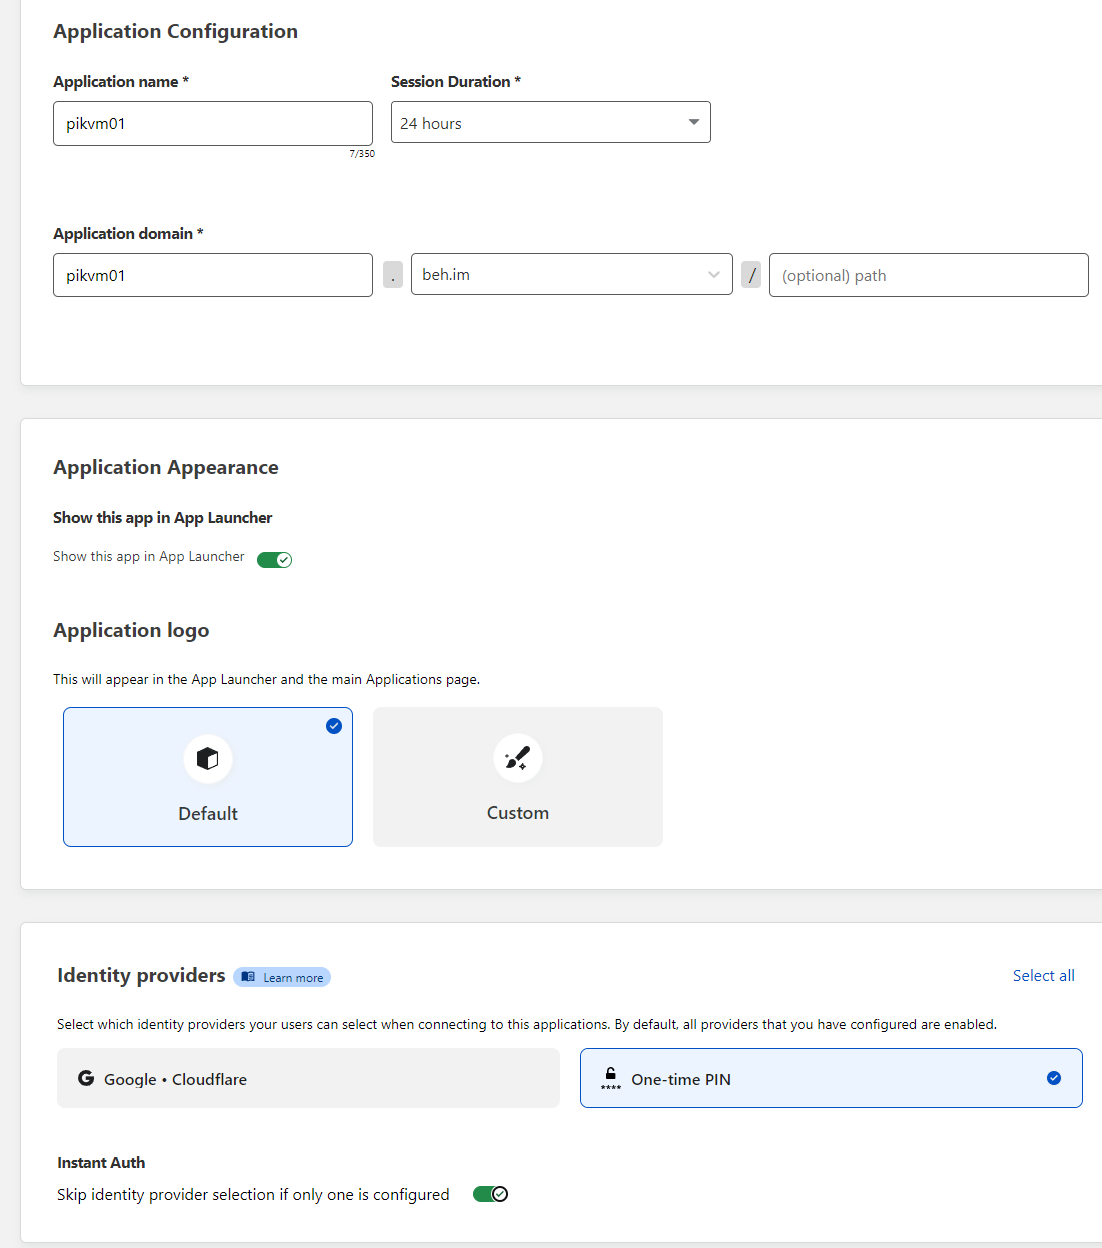
- Enter an application name
- In application domain select the base domain and input the chosen subdomain in the first field
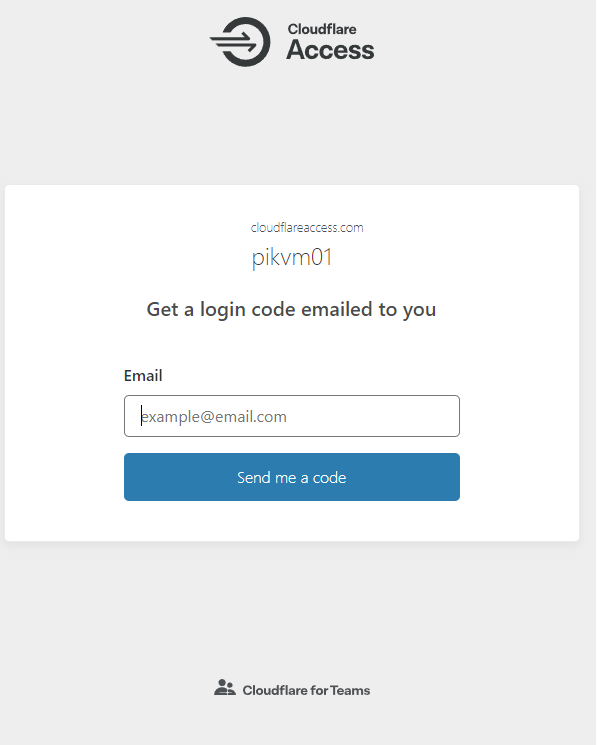
- Select configured identity providers, One-time pin is easiest to setup, but any option can be used if configured. Enable instant auth if only one provider is used
- On next page, create the access policy
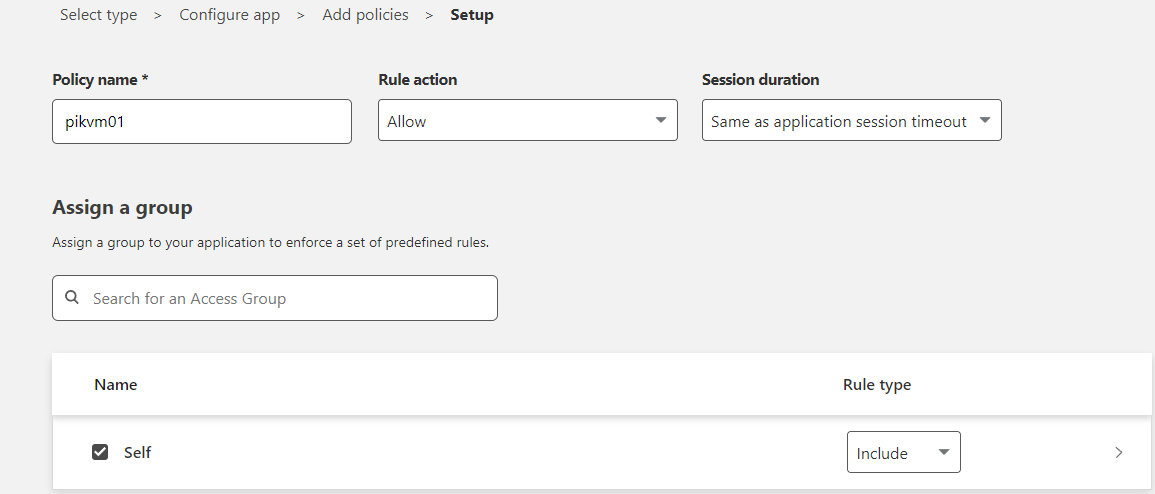
- If you do not have a group, create one in the My Team section and add yourself as a member by email address.
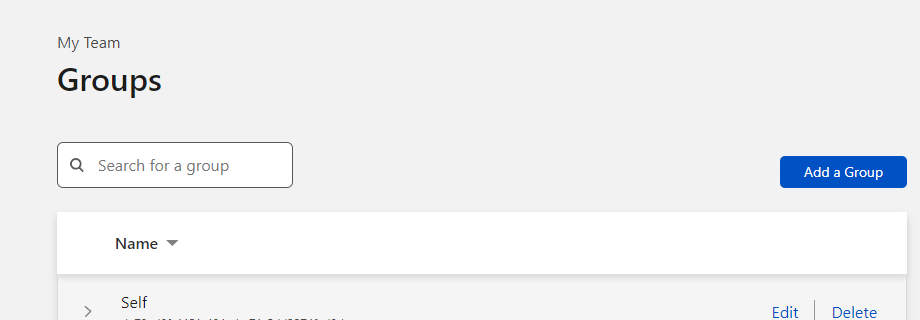
- If you do not have a group, create one in the My Team section and add yourself as a member by email address.
- On the last setup page click Add application

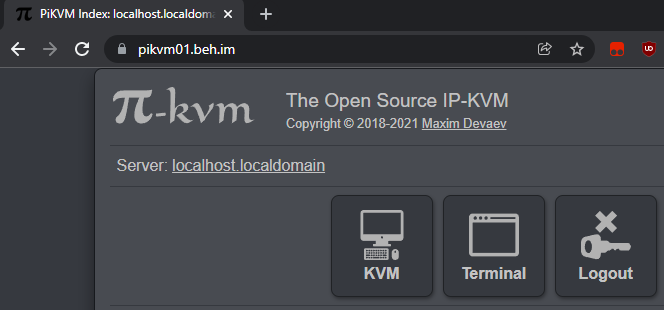
- Access the hostname and you should now have a Cloudflare Access prompt
- Select Self-hosted
Comments